
As I mentioned in my Peek-a-Boo Baby Ornament post, I handsewed one Mini Baby Mannequin before I realized I was happier with the results of using my machine. So obviously, I had an extra little baby. While I wasn't completely happy with his stitching, he is still very sweet, and with a little swaddling cloth, he makes a perfect Baby Jesus.

I've discovered recently that popsicle sticks are not just for kids. Yes, technically your craft WILL have a bit of child-like whimsy when you use them, but you can have some pretty great results if you're careful and finish them nicely. Here's a crib I made for my girls' dollhouse recently.

(This picture is like deja vu! And the fabric is actually scraps from the cribset I made them.)
Anyway, our little Baby Jesus needed a manger, so here's how I went about making one:
You'll need:
- popsicle sticks
- craft glue
- sturdy scissors
- hot glue
- paint (optional)
- yellow/gold yarn or embroidery floss
- a scrap of yellow felt

These are the pieces you'll need to cut:
- 4 end pieces
- 6 horizontal side pieces
- 4 vertical side pieces
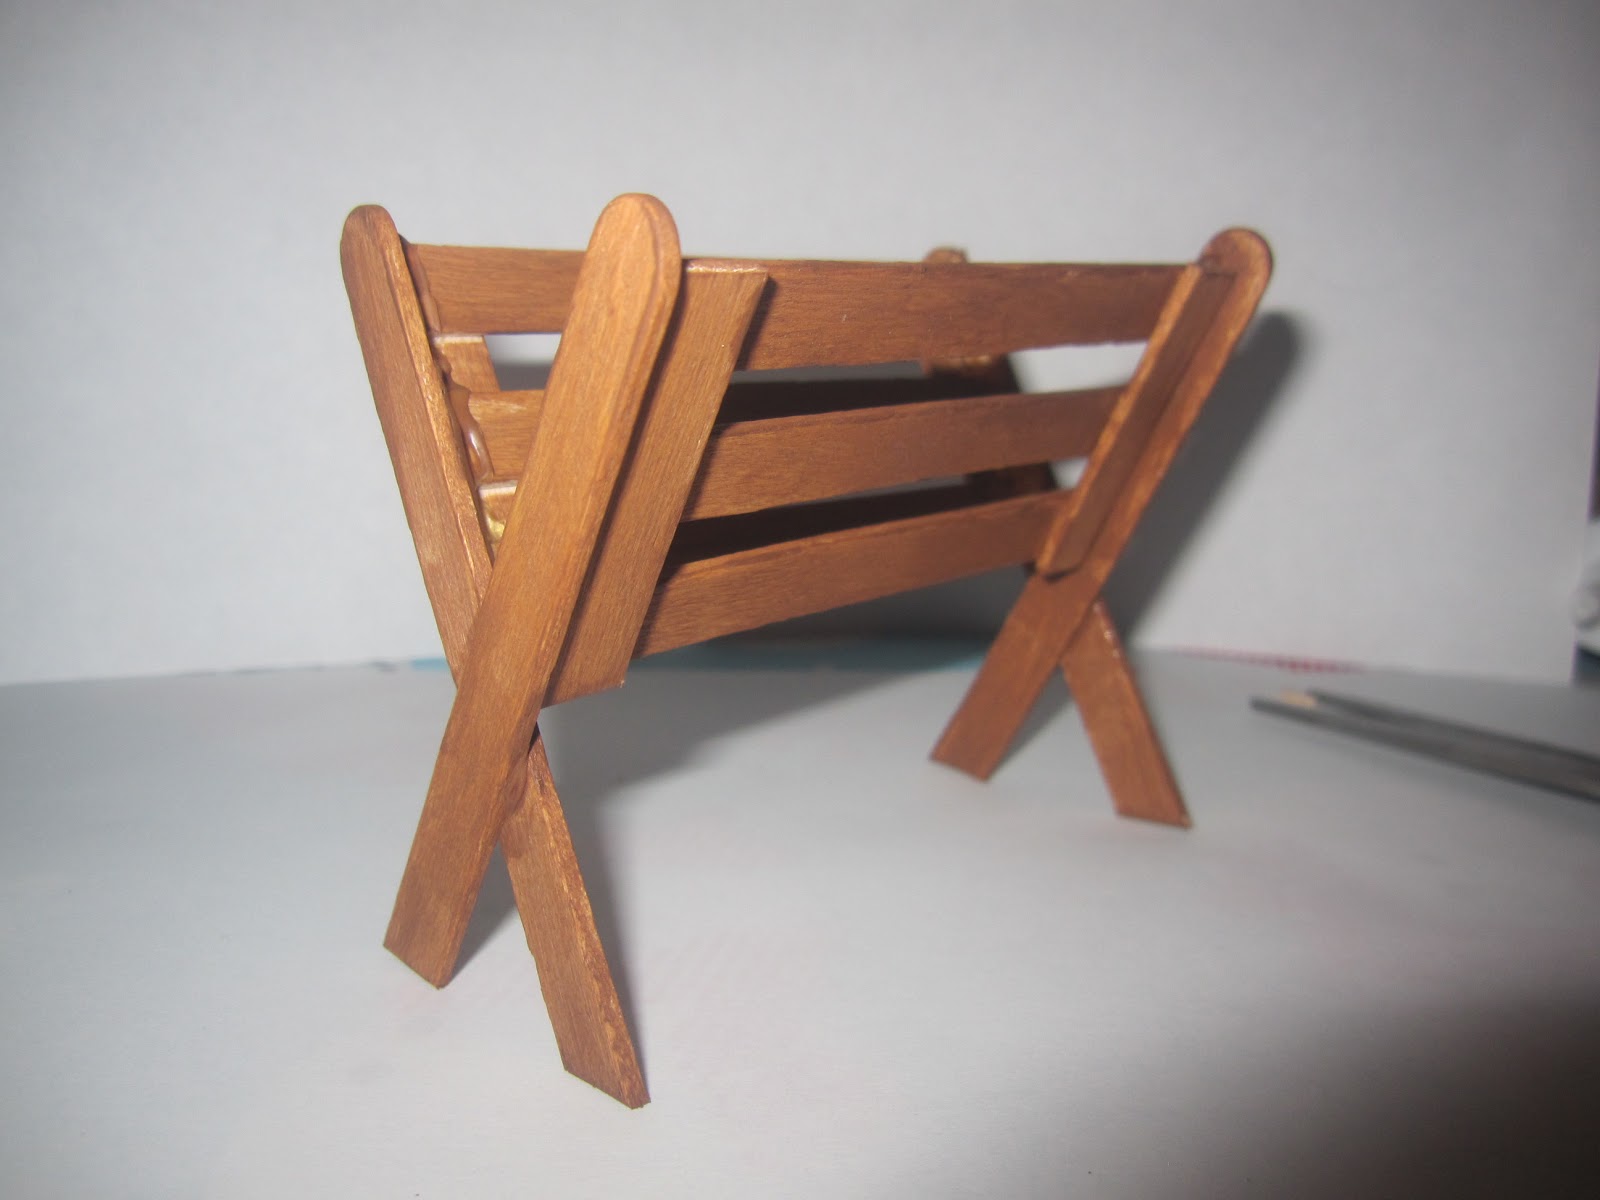
Then glue your horizontal side pieces to your vertical side pieces. Glue the top and bottom pieces first, get them as square as possible, then center and glue the middle piece.


Next comes the tricky part of gluing your manger sides to the ends. I used the scissors to hold one side up while I glued the other, then you can put glue on the edges at the top and stick your other manger end to them. This is the moment of truth about how square your manger sides are!


I gave my manger a quick coat of acrylic paint. You don't have to, but I like the way it looks!
Then I cut up a bunch of embroidery floss (yarn would have been preferable because it's thicker and more filling, but I don't have any, so I used what I had) and glued it randomly to the inside of the manger.

I glued a small rectangle of felt inside the manger to sort of make up for my sparse hay, and added more floss to the ends of the felt to camoflage it a little better. If you use yarn for hay, you probably won't need the felt at all.

(Fuzzy informed me that this looks like a cheese taco with extra cheese.)
After the glue dried, I placed our sweetly sleeping Baby Jesus in his new manger bed.


No comments:
Post a Comment