Sunday, September 1, 2013

So where have I been?

Well, I'll tell you.  Right here.  Same ol', same ol'.  Except we went without an internet connection for a while.  Which isn't actually a bad thing.  With smart phones, you rarely need a laptop for anything... unless you absolutely MUST print something... or write a blog post.  And since that isn't really a need, nothing really lost, right?

We started another school year last Monday.  We had a three week break this summer, which I totally wish could have been WAY longer, but the down-time seems to make the kids' forget anything I've drilled into their poor little heads, so three weeks is probably about the max time I'll ever be scheduling for a break again!

Here they are looking all cute and shiny on our first day!


They all made their own signs. 


(I absolutely love/hate that my little guy was able to write his own name for his sign this year.  *sniffle*)


We don't actually do any school "work" per se on the first day.  Just make our signs, take pictures, get all our new stuff in our school boxes, and fill out the "About Me" booklets - those are my fav thing about the first day of school!  We started them last year, and it's fun to see what's changed in a year!

Here's our little room the night before we started school!  I still have some stuff that needs laminating, so it will go up when that gets done, but I was pretty excited to get the Sock Monkeys this year.  They're really cute!


As if starting school wasn't enough excitement, we decided to delve back into the world of pet ownership last week.  We've gone back and forth on this for a while, but we've spent the last two years in this apartment.  Life goes on, and our kids are getting older no matter what we hope to do "when we get out of here".  And then this irresistible little darling popped up on Craigslist, so this is another small step toward living the life we hope for someday.

Meet Abby! 


She's an 8 month old miniature boxer with more energy than Little Stinky on sugar.  She's smart and strong-willed, but small enough to be man-handled by myself when necessary, so I'm hoping that things work out better with her that it did with our short-term stint as kitten owners.  We hope to try that again in the near future, too, but one pet at a time.  So far Fuzzy has been the main one in charge of walking her and feeding her, and we think that responsibility will be a really great thing for him.

The Hombre is slamming out playhouses right now, which is always exciting.  He'll have three brand new ones installed by the end of this month, but the most amazing thing he's done maybe EVER is actually sitting in our boys' bedroom right now. 


We still stand in their doorway and gape at it.  The kids think it's the greatest thing ever (and I tend to agree!).


We got it installed the weekend that the kids started their break, so they've had some time to adjust to the novelty, but the girls still like to sleep in the boys' room on the weekends.  You don't have to be loaded to have neat stuff for your kids, just have an incredibly talented playhouse designer/builder for a husband!  When the Hombre tells/shows people what he does in addition to building houses, they often say, "Oh, I bet your kids have something absolutely amazing in your backyard!"  Well, this isn't in the backyard, but at least they do have something amazing now!  We figure we'll get to the girls' in another year or two.

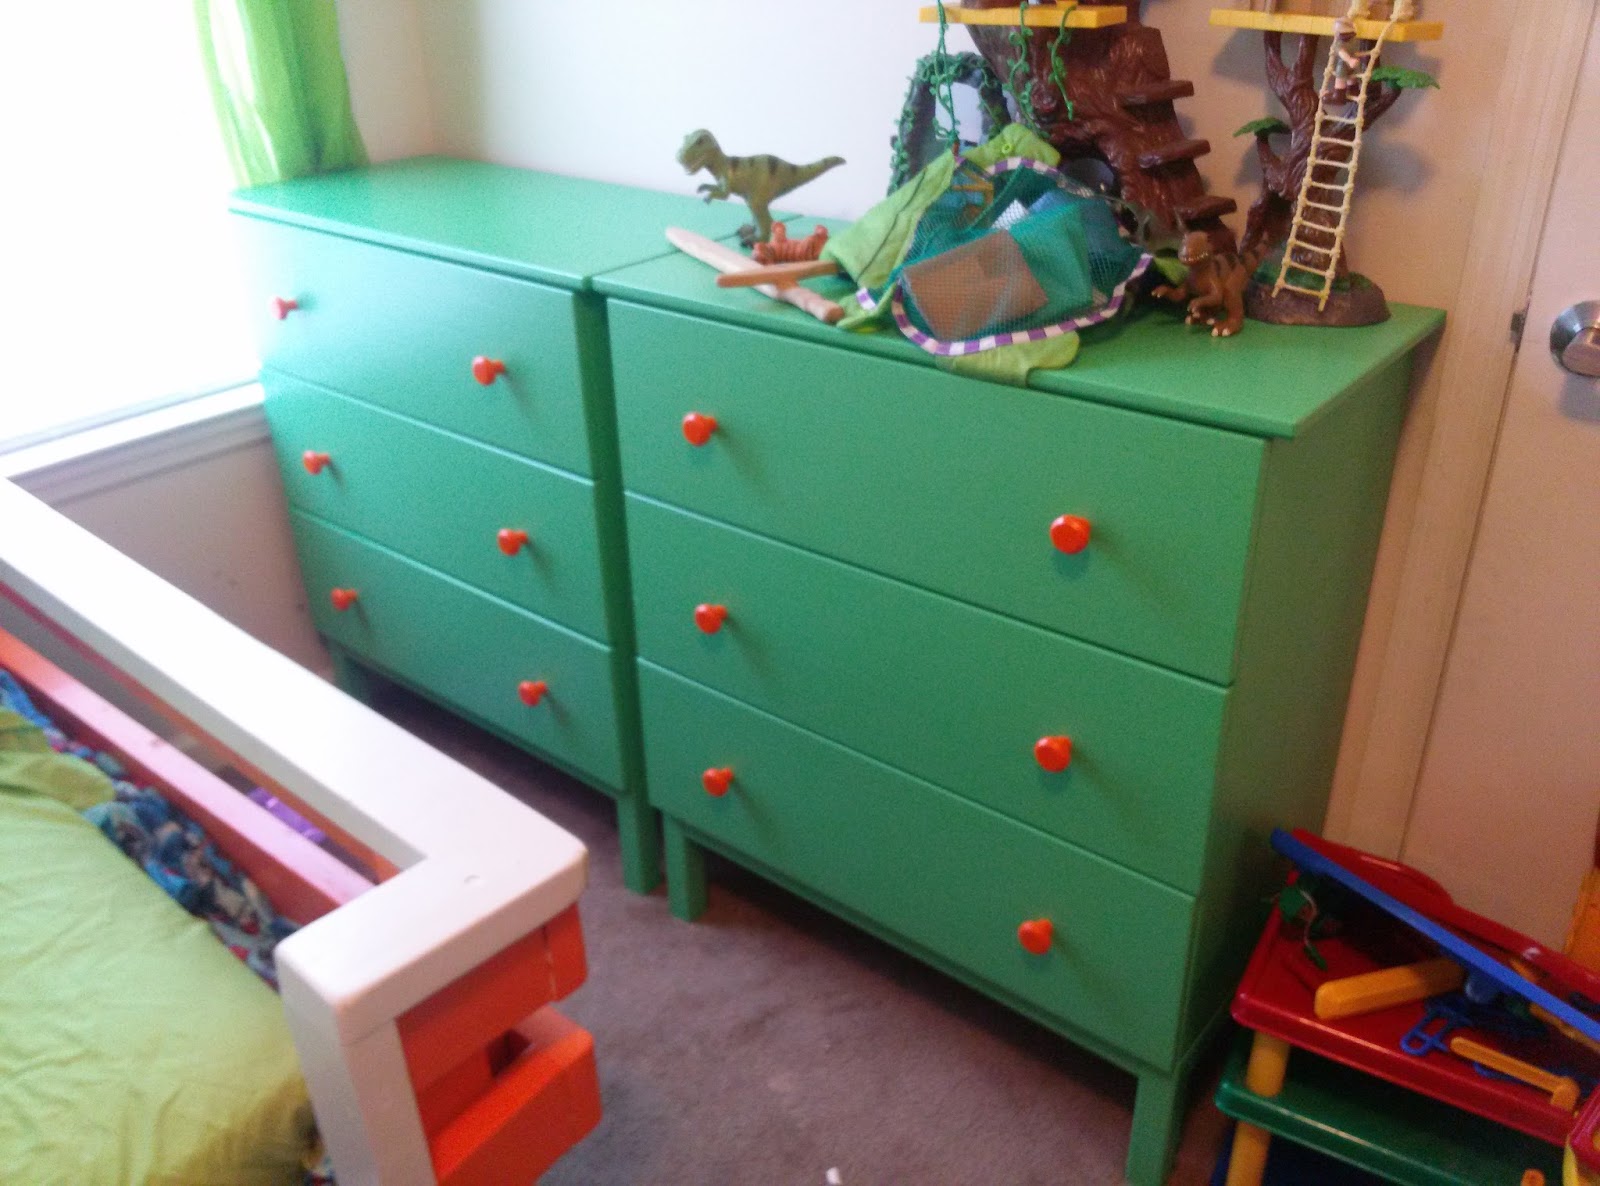
In the three weeks we had off I actually had some time to be all crafty and do some painting.  The kids needed dressers, and IKEA has those great little unfinished wood TROFAST chests.  We bought four, and in two days, I had them all painted. 


Now the kids each have one and there's a lot less confusion over where clothing is supposed to go, what belongs to who, or where a particular item went.  WIN for everyone!  Including myself, because those three things I just mentioned were enough to make me lose my mind some days!

I'll share my latest paint and crafting adventures later!

Thursday, February 7, 2013

No Poo is Good Poo!


I could be the last person on the planet to have tried "No Poo", but I'm going into week three and I really like it.  For anyone still unfamiliar with No Poo, it gets your hair and scalp rebalanced to the point of not having to wash it every day and having it NOT be nasty when you don't wash it every day!  Sound crazy?  Yea, I thought so, too.  My bestie is a hair stylist who sort of introduced me to the idea a couple of years ago.  I tried it and it was awful so I quit, but all this time later, I figured out that I was totally doing it wrong.  There is a right and wrong way to No Poo!!!

I'm hair maintenance illiterate.  I don't get it cut or styled or colored or use anything fancy on it ever, so even the particulars about No Poo were something I didn't have a clue to ask about.  But I came across one of those awesome Pins that made me go, "OK, I've got to give this a try."  It answered questions I didn't even know to ask about No Poo!

So what is No Poo?  Baking Soda - yep, the same Arm and Hammer stuff in the orange box that you may use for deodorizing your fridge or baking - and brown or white vinegar.  You mix them both with water prior to using, but it is simple... and did I mention REALLY CHEAP?!!!  (Magic words, those two!  Ha!)

How does it work?  Well, for starters, it doesn't strip away all the natural oils that your hair is producing, causing your hair to go into hyper drive to produce more, which makes you go, "Ew!  My hair is gross!  I need to wash it!" and you go wash it.... and you see why the companies making shampoo are doing good business.  If you DON'T keep stripping your hair, the oil production slows down and you don't have to wash it a whole lot at all.  I'm No-Pooing my hair every three days, which is HUGE considering I've always thought of my scalp as an oil slick I needed to manage.  The vinegar is used for a rinse after washing with baking soda.  You do rinse it out and your hair does not smell like vinegar! 

The mistakes I made with No Poo the first time around could kind of happen to anyone.  Not that it's complicated, but I had only an idea of how to No Poo and NO CLUE what I was actually doing!  These are things you need to know BEFORE you start:
  • Wait four or five days after washing your hair before you start No Poo.  As I mentioned, my scalp was very trained to produce a lot of oil to make up for daily shampooing, so this was a scary first step for me.  To make it less awful, I rinsed my hair really well every time I showered for those five days, and it wasn't so bad.
  • Your hair may not be fantastic right away after you start No Poo.  It may feel like straw for a little while because it could still be adjusting.  Mine adjusted pretty quickly (probably sighing with relief!), but I've heard some people say it could take a couple weeks before your hair starts feeling nice.
  • Don't No Poo every day!!!  This is where I went so wrong a couple years ago!  Oh my gosh, my hair was like a straw stack!  It was dry and unmanageable and I thought everyone who raved about how great No Poo was must be stark raving nuts, and had never tried the Suave Professionals shampoo and conditioner that even a hair maintenance illiterate can pick up at Walmart!
Here is the Pin that really got me started.  This lady does an EXELLENT job of explaining what to do and how and why it works!  If you can bring yourself to try it, you will be very pleasantly suprised.  :)

Monday, December 10, 2012

Five Years of Salt Dough Ornaments

Salt Dough Ornament
 
Last year was the very last year we made salt dough ornaments.  We have enough now to substantially cover our tree and several hefty garlands.  Little Stinky was finally old enough to add several original pieces of his own last year, so we're retiring that tradition.  However, we've had so much fun with it over the years that I thought I'd share a little bit about it.

Salt dough ornaments are such a great Christmas craft for young kids, and with a little extra love, they can look beautiful on your tree and last for many years.  They make sweet home made gifts for your children to give, too! 

I've seen many varieties of salt dough ornaments, from the "cookie" with a pom-pom mouse that hung on our tree when I was a child to some very posh-looking, stamped, natural finish ornaments that I've pinned on Pinterest.  The version hanging on our tree now is the product of my own brainstorm on how to make an ornament that a 2 year old could paint that would actually look nice.

 
The salt dough itself is actually the easy part, and I recommend it over some of the other doughs suggested for ornaments.  We tried the baking soda and cornstarch dough once, but I was disappointed to discover that it breaks very easily and is water soluble!  That shouldn't be a problem on a Christmas tree, but with kids, you never really know! 

Once you've cut, pierced, and baked your ornaments, it's time to get serious.


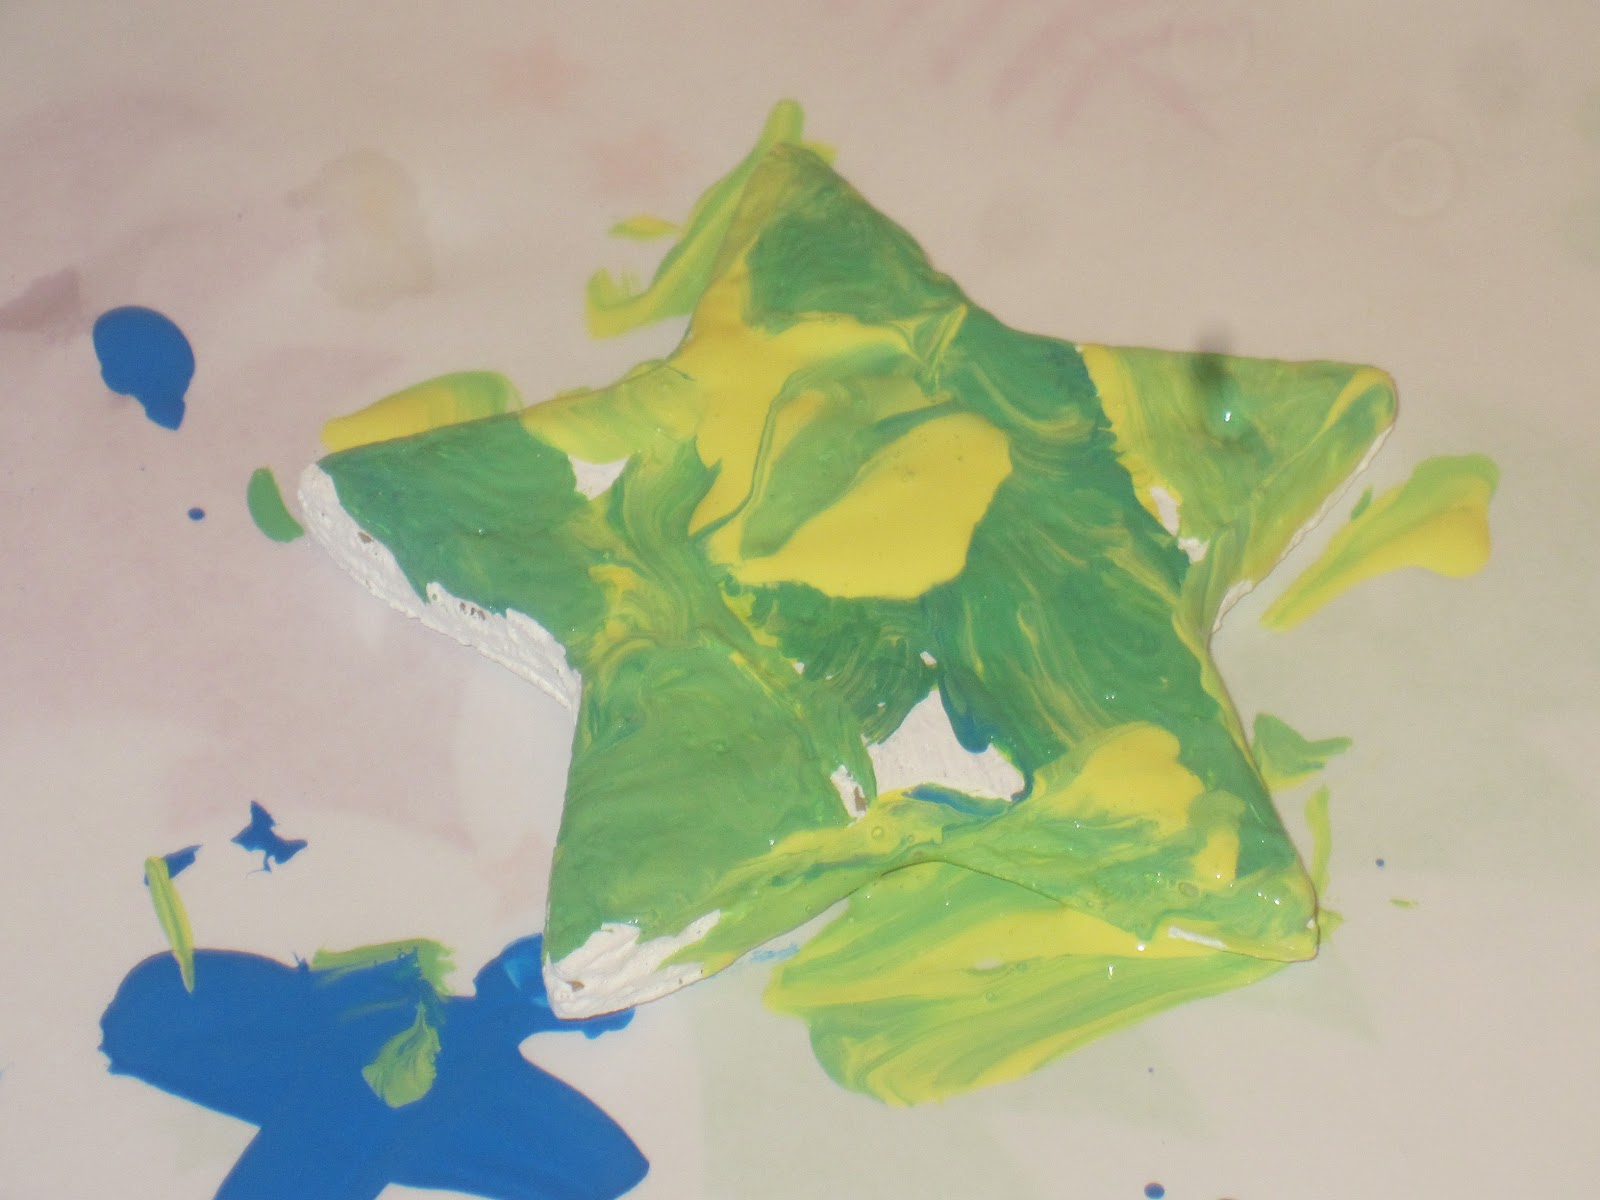
I've found that the best way to get really NICE looking ornaments is to give them a "primer" coat of white acrylic paint prior to letting the kids at them. 


This gives them a smoother surface for painting and makes your paint colors appear brighter because they're not being absorbed into the baked ornaments, and even where you can see through them or the kids miss a spot, they look "finished".

Obviously kids LOVE the painting part.  This is one project I allow them to use acrylic paint on.  I just make sure they all put on one of their Daddy's "paint shirts" before they get started because they will invariably end up wearing at least a little of it, and acrylic paint is a nightmare to remove when wet.  You can totally forget it if it's allowed to dry.


It's messy and some of it takes a while to dry, but it manages to come out looking really neat.


(Here are some flash-back pics from three years ago!)

The 2 to 4 year old crowd really makes the best ornaments because they aren't trying too hard yet.  I usually give the kids three related colors on a plate and let them at it.  We change out the colors every second ornament or so, so they don't get bored and you can have a variety of colors. 


Once the kids are burned out on painting, you get to pick up and finish off these one-of-a-kind little masterpieces.  It's really a good idea to wait until they're in bed!

Most kids only manage to get the very front of the ornament covered, which is OK.  Grab their paintbrush and use their leftover paint to paint the edges and the back.  I tried to leave their original artwork completely alone.  You'll probably be surprised at how pretty the random paint swirls actually look.  I still wonder at and adore how unique each one is!

When they're dry, I paint the child's name and the year on the back (because I'm sentimental like that!).  Then coat the front with an iridescent or gold glitter paint.  Gold is my fav of the two.  It seems to add a more polished (if such a word can be used to describe a children's craft!) look.

When all the paint has dried completely, take the little beauties outside and give them several coats of clear, high-gloss sealer. 


Then you should have some pretty fantastic, cheap ornaments that will actually last really well.  I store ours in large cookie tins with plenty of padding.  Our oldest ones have survived five years and still look great!  Happy Family Christmas Crafting!


Sunday, December 9, 2012

Baby Jesus in the Manger


As I mentioned in my Peek-a-Boo Baby Ornament post, I handsewed one Mini Baby Mannequin before I realized I was happier with the results of using my machine.  So obviously, I had an extra little baby.  While I wasn't completely happy with his stitching, he is still very sweet, and with a little swaddling cloth, he makes a perfect Baby Jesus.


I've discovered recently that popsicle sticks are not just for kids.  Yes, technically your craft WILL have a bit of child-like whimsy when you use them, but you can have some pretty great results if you're careful and finish them nicely.  Here's a crib I made for my girls' dollhouse recently.


(This picture is like deja vu!  And the fabric is actually scraps from the cribset I made them.)


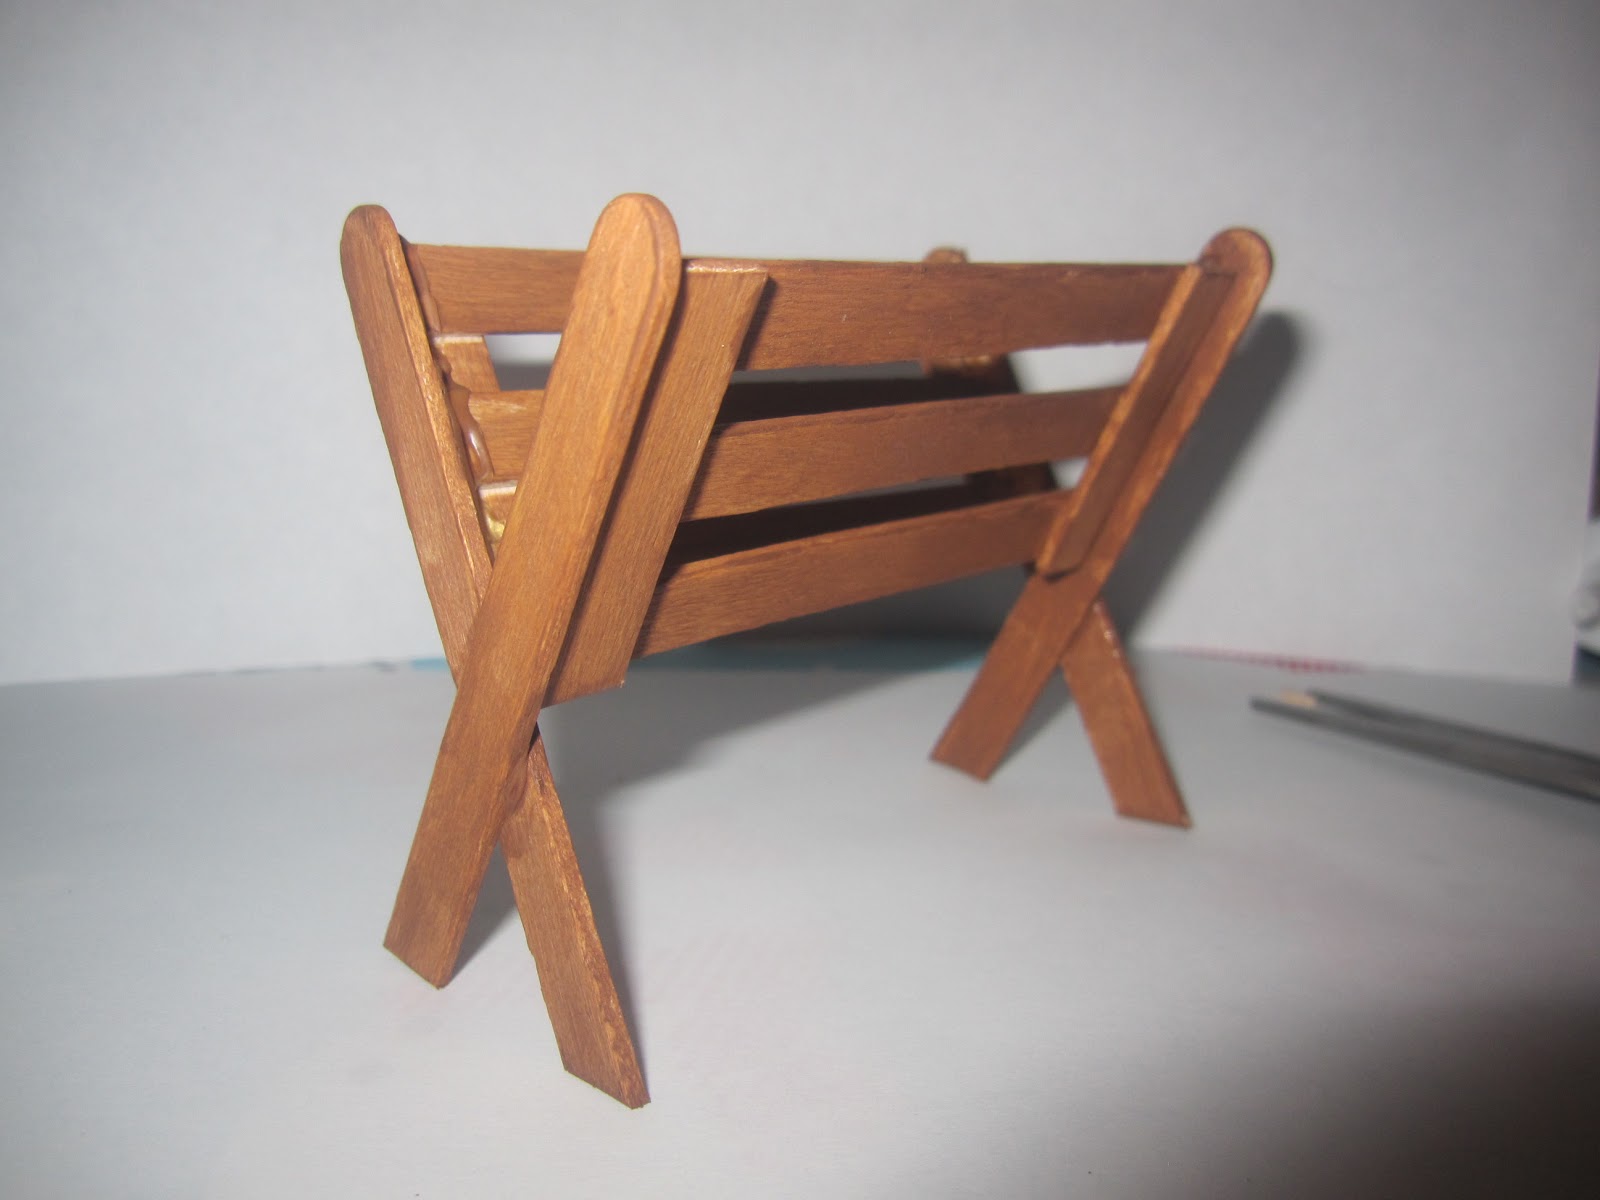
Anyway, our little Baby Jesus needed a manger, so here's how I went about making one:

You'll need:
  • popsicle sticks
  • craft glue
  • sturdy scissors
  • hot glue
  • paint (optional)
  • yellow/gold yarn or embroidery floss
  • a scrap of yellow felt
There is no exact science to this.  I usually cut one of each different piece and use it as a template for all the others.  That way, the measurements are really close, which is kinda important, since we're relying on glue to hold this all together. 


These are the pieces you'll need to cut:
  • 4 end pieces
  • 6 horizontal side pieces
  • 4 vertical side pieces
You could probably use hot glue to stick this all together with fairly quick and sturdy results.  I like craft glue because it's more precise and less likely to be seen.  Start by gluing your end pieces together to make two Xs.  I glued the first, then put the second set on top of it to make sure they were angled the same.  That is important!!!

Then glue your horizontal side pieces to your vertical side pieces.  Glue the top and bottom pieces first, get them as square as possible, then center and glue the middle piece.


Next comes the tricky part of gluing your manger sides to the ends.  I used the scissors to hold one side up while I glued the other, then you can put glue on the edges at the top and stick your other manger end to them.  This is the moment of truth about how square your manger sides are!


This is the point at which I pulled out the hot glue gun.  I ran a bead down each inside corner to stabilize them.  The craft glue holds well, but there isn't a whole lot for it to be sticking to, and this will get man-handled by the kids.


I gave my manger a quick coat of acrylic paint.  You don't have to, but I like the way it looks!


Then I cut up a bunch of embroidery floss (yarn would have been preferable because it's thicker and more filling, but I don't have any, so I used what I had) and glued it randomly to the inside of the manger. 


I glued a small rectangle of felt inside the manger to sort of make up for my sparse hay, and added more floss to the ends of the felt to camoflage it a little better.  If you use yarn for hay, you probably won't need the felt at all.


(Fuzzy informed me that this looks like a cheese taco with extra cheese.)

After the glue dried, I placed our sweetly sleeping Baby Jesus in his new manger bed.


Saturday, December 8, 2012

Peek-a-Boo Baby Ornaments

 
Baby's First Christmas Ornaments

I've wanted to make baby ornaments for my kids ever since they actually were babies!  I was inspired by a very specific baby ornament on our tree when I was growing up.  (I think it was my brother's.)  It was a simple printed felt bear in a cradle, but the charm and appeal to me as a child was that I could actually take the little bear out and play with it.  I LOVED that thing!  So I wanted to make my kids something similar, but as I brainstormed about this (around this time every year!), I couldn't come up with a satisfactory idea.

I am such a big sewing nerd that, in addition to Pinterest, I am constantly Googling sewing projects for inspiration.  One such search for cloth dolls led me to a pattern and instructions for this adorable Mini Baby Mannequin.  There was my Eureka moment!

I have zero experience with "needle sculpting" or doll making!  But this was really easy.  Her instructions were very clear and easy to follow.  Since I have no idea what Dolskin knit fabric is, and I wanted to use stuff I already had laying around, I ripped up one of my husband's old white t-shirts and dyed it an acceptable flesh color with tea and a couple drops of red food coloring.

I'll let you follow her instructions, but since she really doesn't show you any real pictures beyond the finished product, I'll show you what this looked like as I went.  (FTR, I actually hand-sewed the first baby I made, but I wasn't happy with the seams, so I coaxed the final four babies out of my sewing maching by using the hand crank on the side.  No pedal.)


After clipping and turning...


I would really suggest making a test dummy baby mannequin before the actual baby you intend to use.  The placement and amount of stuffing is not something I can explain, and my second baby looked much healthier than my first because I understood HOW it worked.

Anyway, when you get your baby stuffed and it looks like a turtle, don't worry!  It will actually look like a baby eventually!


Follow the needle sculpting directions and you'll end up with a cute, chubby little baby... or four, in my case!


She recommended a bunch of fancy stuff for painting the face, and I'm sure her finished product was much nicer than mine, but I stuck with straight up cheap-o acrylic paint from Walmart.  That stuff is eternal.  Especially when you accidentally get it on anything.  So make sure your work area and clothing are protected!  I kept my babies' faces simple- hair, closed eyes and mouth.  (I also painted an initial their right butt-cheek to avoid later baby confusion.)  When the paint was dry I used embroidery thread to add a bow to the tops of the girls heads.


Ok, stockings.  I will tell you straight up that felt would be a heck of a whole lot easier than flannel!  I was trying to avoid felt, since we already have several felt ornaments on our tree, so I went with flannel.  I sketched a rough stocking shape, making sure the it was large enough to allow 1/8" seam allowances and also fit a baby!  The top of the pattern measured about 2" across.


Whether you opt for felt or feel the need for some self-inflicted punishment and use flannel, you'll need to cut out two of the stockings.  For felt, you'll need one little rectangle for the contrast at the top. Apply to top of front stocking piece, then sew all three pieces together around the body of the stocking, leaving top open and VIOLA!!!  You are DONE!!!  (You see now that I am a glutton for punishment.)  For flannel, you'll need a square that you'll fold in half and sew to the top of the WRONG side of the front stocking body.


Fold the little cuff you've created over to the RIGHT side of the stocking front. 


Now line up the front and back pieces of the stocking and fold over the top of the stocking back to the inside to match the stocking front.  I used permanent fabric glue to just tack the thing down.  (Be sure to allow it to dry if you choose this option.  Your sewing machine won't like the glue!) 


Now put your two stocking pieces right sides together, sew 1/8" around body edges leaving top open.  You may want to clip tiny triangles out of your seam allowance in the toe of the stocking to let it lay nicely when you turn it, but it isn't completely necessary.  Then turn your stocking right side out. 


I used a heavy thread to make a loop at the corner for hanging.

Pull out that acrylic paint again and personalize!


And you're done!  My husband noted that this process would be MUCH easier if you never intended for the baby to come out.  All you'd have to make is the stocking and a little painted head, but that kind of defeats the purpose and charm!

The kids were so excited when they woke up this morning! 


They played with them for a good bit.  They also wondered why the babies don't have diapers, and I just gave them the look!  LOL  But I was very happy to cross a major project off my Christmas crafting list that's been there for literally YEARS, and add four cute new ornaments to our tree!